✨ Stop Wasting Time on Pattern Revisions
Picture this: You've spent weeks perfecting your design. The fabric is chosen, the vision is clear, and you're ready to bring your collection to life. But when you send your design for pattern making, you hit a wall. Missing measurements. Unclear specifications. Fabric details that got lost in translation.
Sound familiar? You're not alone. Most designers experience unnecessary delays and costly revisions simply because their designs aren't pattern ready.
Today, we're changing that.
🎯 What Does "Pattern Ready" Actually Mean?
"Pattern ready" means your design contains every single piece of information a pattern maker needs to create a perfect, production-ready pattern on the first try. It's the difference between a smooth journey from concept to creation and a frustrating cycle of back-and-forth revisions.
Think of it as giving your pattern maker a complete roadmap instead of just the destination. When you provide a clear, comprehensive brief, magic happens:
-
75% faster turnaround times
-
90% fewer revisions needed
-
100% more confidence in your production timeline
Ready to create that magic? Let's dive into our proven 9-step system.

Pattern Checklist # 1: Design & Concept Clarity
Make sure your vision translates perfectly
-
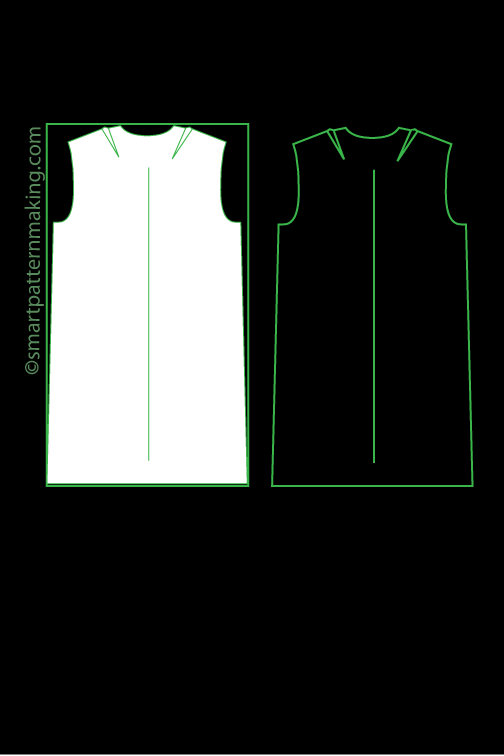
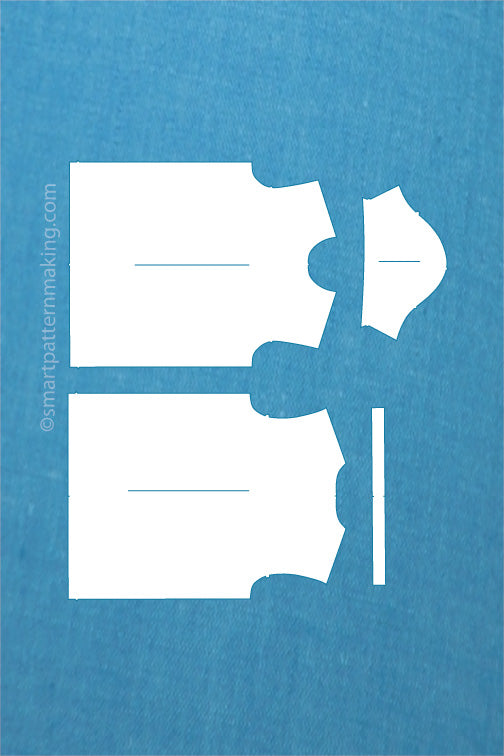
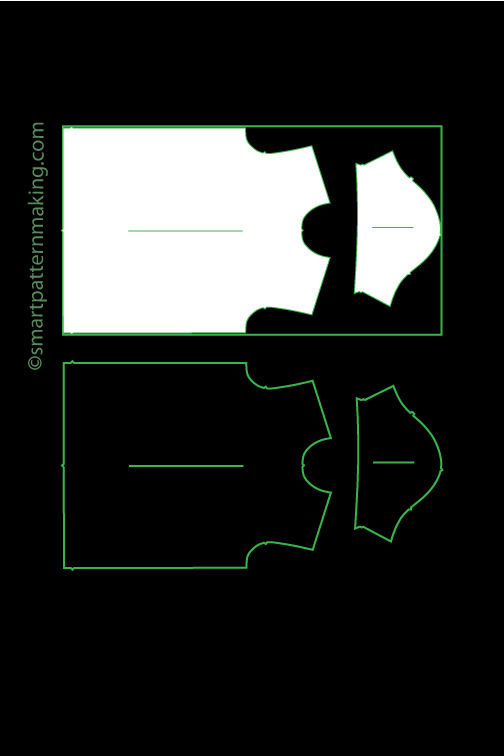
Complete visual documentation - Front, back, and side views with all design details clearly labeled
-
Silhouette description - Is it fitted, relaxed, oversized, or custom draped?
-
Fabric specifications - Type, weight, stretch percentage, and fiber content
-
Reference samples - Photos or physical samples if recreating an existing style
💡 Pro Tip: The more visual your brief, the better. A sketch with measurements beats a paragraph of text any day.
Need help bringing your design to life?
Start Your Pattern Making Project →

Pattern Checklist # 2: Measurements & Sizing
Precision here prevents problems later
-
Base size defined - What's your sample size? (We recommend starting with a Size 6 or Medium)
-
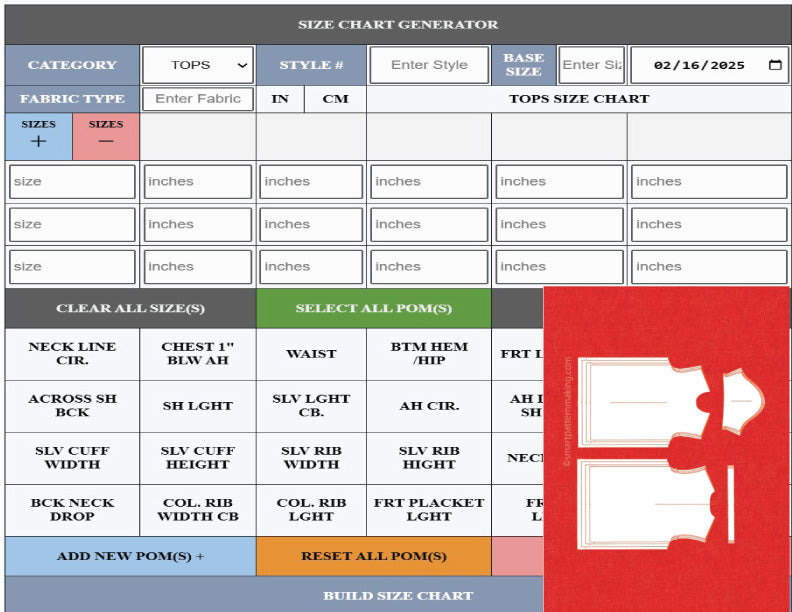
Key measurements provided - Bust, waist, hip, length, sleeve, shoulder
-
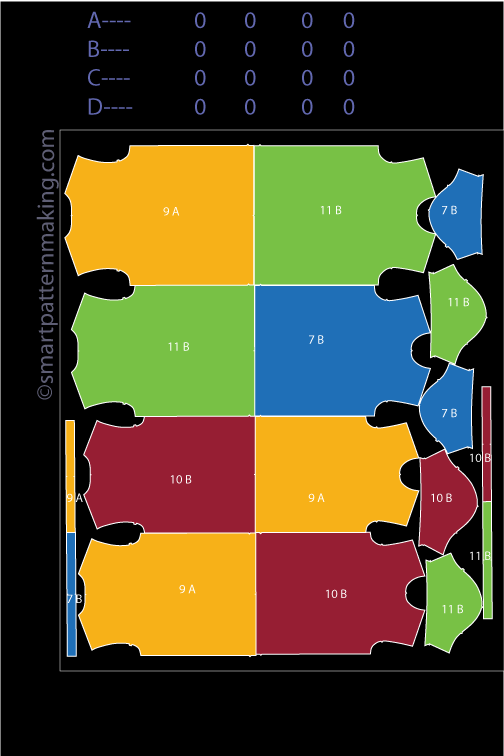
Grade rules established - Your size chart or industry-standard grading?
-
Fit model measurements - If you have specific fit requirements
🎯 Designer Insight: "When clients provide fit model measurements, we can create patterns that feel custom-made for their target customer." – Alejandro Esparza, Founder
Got questions about grading?
Explore Our Pattern Grading Services →

Pattern Checklist # 3: Fit & Ease Preferences
How should the garment move and feel?
-
Desired ease amounts - At bust, waist, hip, and other key areas
-
Negative ease noted - Essential for performance wear, swimwear, or compression fabrics
Common Mistake Alert: Forgetting to specify ease is the #1 cause of fit issues. A dress that's meant to be flowy but comes out fitted can derail your entire collection.

Pattern Checklist # 4: Fabric Behavior & Preparation
Know your materials inside and out
-
Stretch direction marked - Lengthwise (warp) vs. crosswise (weft)
-
Stretch type indicated - 2-way or 4-way?
-
Shrinkage percentage - For both fabric and lining
-
Pre-wash requirements - Should fabric be washed before cutting?
🌟 Expert Tip: "We once saved a client thousands in wasted fabric by catching that their chosen material shrunk 8% after washing. That's the power of complete information."
Concerned about fabric shrinkage?
Calculate with Precision →

Pattern Checklist # 5: Construction Details
The blueprint for how everything comes together
-
Seam allowance preference - Standard (⅝”) or custom?
-
Hem type & width - Rolled, faced, blind, coverstitched?
-
Closure placement - Buttons, zippers, snaps with exact locations
-
Stitch type preference - Overlock, flatlock, French seam?
Working with digital files?
Convert to Perfect DXF Files →

Pattern Checklist # 6: Fit Adjustments & Special Notes
Every body is unique – account for it
-
Common alterations needed - Forward shoulder, rounded back, full bust adjustments
-
Unique body shape considerations - Long torso, narrow shoulders, etc.
Pattern alterations got you stuck?
Get Expert Alteration Help →

Pattern Checklist # 7: Technical Markings & Labels
The details that make professional patterns
-
Grainline direction - Critical for stripes, plaids, or napped fabrics
-
Notch placement - Standard or custom?
-
Label format - Style #, size, piece name, fabric type, cut quantity

Pattern Checklist # 8: Quality & Tolerances
Set clear expectations for perfection
-
Measurement tolerances - e.g., ±¼” for key points
-
Critical measurement callouts - Which points must be exact?

Pattern Checklist # 9: Final Preparation
Pay attention to every detail.
-
Files organized and ready - Sketches, PDFs, DXF/AI files, photos, notes
-
Contact person confirmed - One main point of contact for questions
-
Timeline shared - Project deadline and key milestones
Ready to digitize your patterns?
Digitize with Precision →

🚀 The Result: What Happens When You're Truly Pattern Ready
When you complete this checklist, something remarkable happens:
-
Your pattern maker becomes your creative partner - Not just a service provider
-
The conversation shifts from "what do you mean?" to "here's how we'll make it perfect"
-
Your production timeline becomes predictable and reliable
-
Your confidence in the final product skyrockets
One of our clients, Sarah from a sustainable womenswear brand, shared: "Using this checklist cut our development time in half. What used to take 8 weeks now takes 4. We're launching collections faster and with zero fit issues."

📥 Your Action Plan: Next Steps
If you have a design ready right now:
-
Download our interactive Pattern Ready Checklist PDF (with clickable checkboxes!)
-
Work through each section methodically
-
Submit your completed checklist with your design
If you're still in the planning phase:
-
Bookmark this page for reference
-
Start gathering your design elements
-
Schedule a free consultation to discuss your project
If you need help with any step:
That's what we're here for! Use the service links throughout this checklist to get exactly the help you need, when you need it.
📞 Ready to Transform Your Designs?
Complete patterns start with complete information. Whether you're working on your first collection or your fiftieth, this checklist will ensure you're sending your pattern maker everything they need to make your vision a reality.
Your next perfect pattern is waiting.
Let's Create It Together →
----------------------->