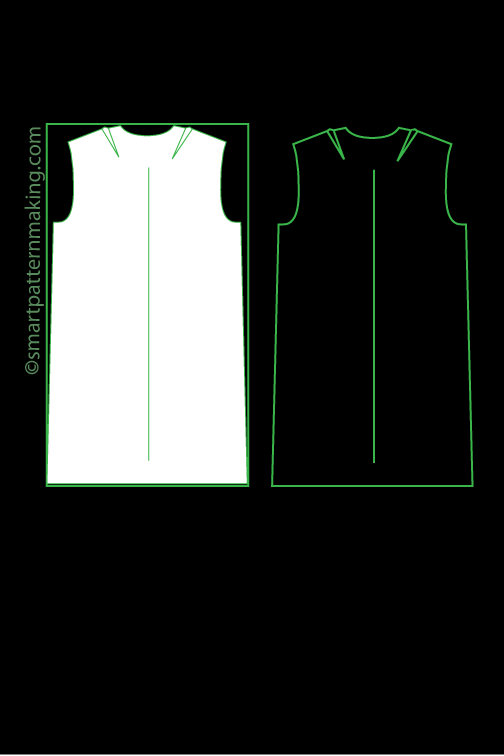
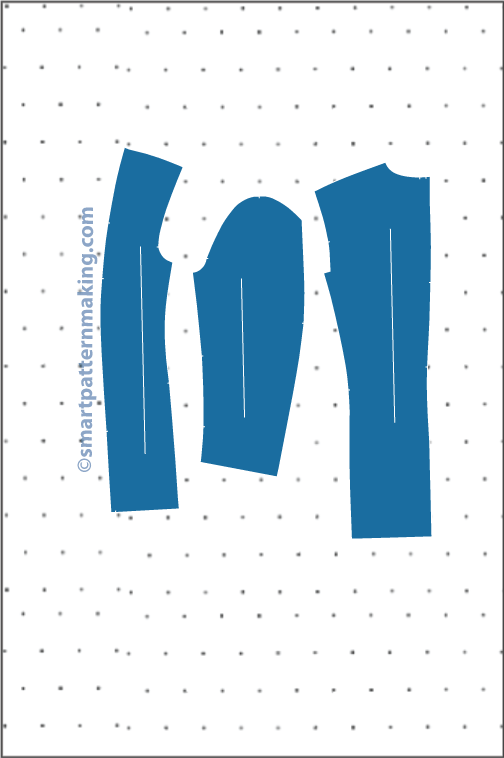
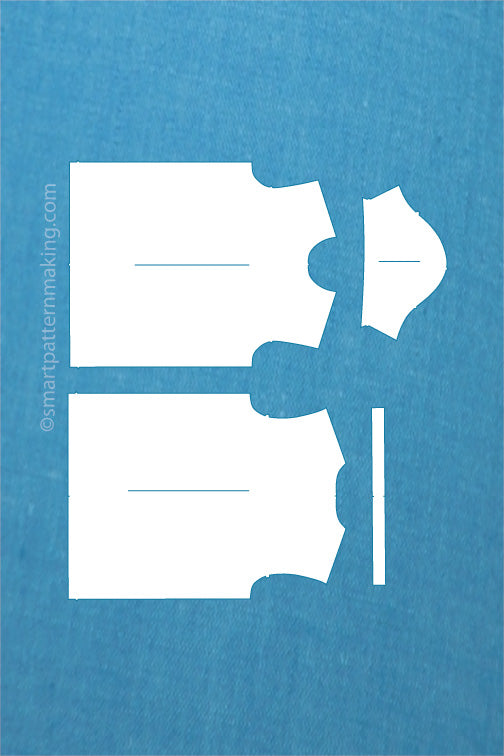
A dress that fits properly gives you a comfortable, confident, smart and attractive look. The dress is neither too large nor too small and it fits perfectly to the contours of your body without binding, pulling, tugging, pushing, sagging, wrinkling or straining.
Pattern alteration and adjustment of a dress is often essential to achieve a good fit especially if the dress is your favorite dress design. Making modifications or adjustments before the dress is cut from the fabric will remove many problems later. Women can use the following tips to guide the pattern alteration of their favorite dress design to solve most of the problems that may be wrong with the dress.

Pattern alteration for your favorite dress designs can be done in the following ways:
• ensure that you fold out surplus fullness form the dress to make the area smaller
• by cutting and draping the dress or overlapping the dress along the sewing lines to either increase or reduce the dress dimensions
• by redrawing sewing lines of the dress and fitting them appropriately to your desired measurement
Pattern modification for your favorite dress design typically includes one or more of these basic body areas: neck line, bust line, hipline, arms, shoulder line, back waist line or abdomen. And as time progresses you would notice that the problems of fitting your favorite dress design to your figure may change. This change would occur because as the year’s rolls by there would be bound to be changes in your body size and measurement, so as a result, you would want to always compare your body measurements including ease to the particular dress pattern you are using. The amount of ease measurement you allow in your dress pattern is determined by how close or loose fitting you want your dress pattern to be.
When your favorite dress design doesn’t give you that smart fitting you desire, you can make appropriate modifications and adjustments to the dress plus allow for the measurement of ease as well on the dress design. After the pattern alteration for your dress design, it is essential that you carefully pin fit the dress to further ensure that the dress fits properly and hangs perfectly.
During the process of pattern alteration for your favorite dress designs, adhering to the following tips would be beneficial to achieving a perfect modification:
i. ensure that the dress sewing line, the center front and the center back, are kept straight on the sewing line
ii. carefully ensure that the alteration being made on the dress is done in order to preserve the original style of the dress design
iii. ensure that you allow for ease of allowance for comfort
iv. use the adjustment line provided on the dress design whenever possible during the dress alteration
v. ensure that corresponding changes are made on connected pieces of the dress when making the dress alterations
The following are some of the ways pattern alteration to solve the most common problems of your favorite dress designs:
1. Full bust (large cup size): cut across the dress pattern along the bust then dart fold line to center front. Slit the dress pattern from waist to shoulder along the waist projectile fold line. Then spread the desired measurement at the center front and the bust area. Avoid spreading at the shoulder edge, redraw sewing lines and darts.
2. Small bust (small cup size): slit the pattern across the bust dart fold line to the center front. Cut the dress pattern from waist to shoulder across the waist dart fold line. Overlap the desired measurement of the darts to reduce the measurement of the bust area. Ensure you avoid overlapping at the shoulder edge.
3. High bust: Slit under dart and up to the armhole level. Fold out the desired measurement above the dart. Increase the length of the waist line to your preferred measurement. Redraw the sewing line below the dart.
4. Low bust: Cut above the dart and down to the waist line. Fold out the desired measurement below dart. Reduce the length of the waist line. Redraw the sewing line above dart.
5. Small neck: Redraw the neck line to increase the measurement of the neck line to the desired amount. Then add the same amount to the facing and collar patterns.
6. Large neck: Redraw the neck line to reduce the measurement of the neckline to the desired amount. Adjust the facing and collar patterns to match the new neckline.
7. Gaping neckline: Slit the dress pattern from neckline through the bust area down to the waist line. Overlap the desired measurement on the neck edge, the waist line dart would become larger. Remember to adjust the neckline facing and color patterns to fit the modified neck line.
Ready to start adjusting and modifying your patterns? Click the get started button below. we are apparel industry pattern maker professionals with 30 plus year experience in pattern making and pattern alterations.
Alejandro Esparza: Co-Founder @ smartpatternmaking.com /Professional Pattern Maker/ Technical Designer/ Startup Advisor and acknowledged in the garment industry as authority in pattern making and pattern design process. He has the ability to work with small entrepreneurial companies’ private label customers and large organizations. Alejandro is a graduate of Los Angeles Trade Technical College Fashion Design Program. He has over 25 years of apparel garment industry experience and is part of Expert Ezine Articles Authors community since December 25, 2008 and has published multiple articles about the garment industry. Copyright © by Alejandro Esparza. All Rights Reserved. No part of this article may be copy or used without written Permission from Alejandro Esparza the Author.

